
Can-Am Ryker Tail Light Instructions
Can-Am Ryker Tail Light Installation Instructions
1) Remove 1 screw under license plate light (Photo 1)
2) Unplug plate light connectors (Photo 2)
3) Remove 2 torx bolts on stock hugger (Photo 3)
4) Remove bolts on the side of the hugger (Photo 4)
5) Remove allen bolts on the bottom of the brake lights (Photo 5)
6) Remove allen bolts behind the brake lights (Photo 6)
7) Unplug connectors from plastic housing (Photo 7)
8) At the base of the hugger bracket, remove 1 allen bolt to remove plastic cover (Photo 8)
9) Unplug ABS connectors underneath the caliper (Photo 9)
10) Remove push rivet to expose the main harness (Photo 10)
If you are keeping the hugger:
You have to split the harness here. The pink wires are your ABS sensor wires. Split those and run them back underneath the caliper and plug in. You will also split the license plate light connectors and plug them back in. (Photo 11 and 12)
If you are installing a side mount: You also have to split the harness here. The pink wires are your ABS sensor wires. Split those and run them back underneath the caliper and plug in. The rest of the harness gets taped and run down the swing arm and up underneath the seat. You will then take our plate light extension harness, plug it in under the seat and run back down to connector on the side mount license plate (Photo 11 and 12)
11) Remove 2 bolts for belly pan underneath the seat (Photo 13)
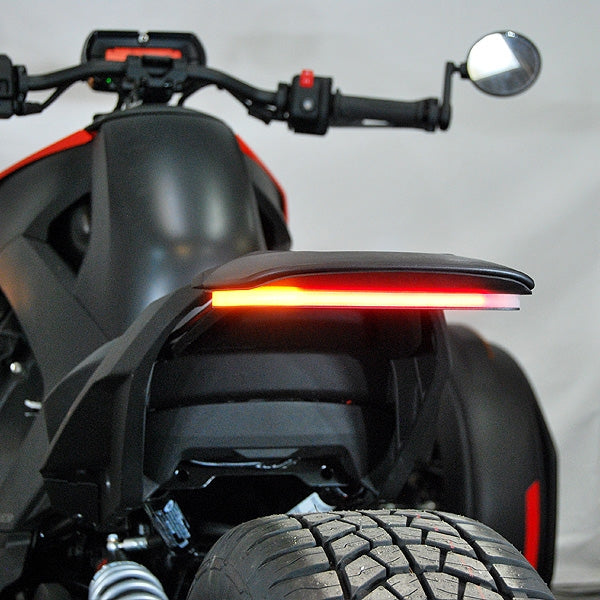
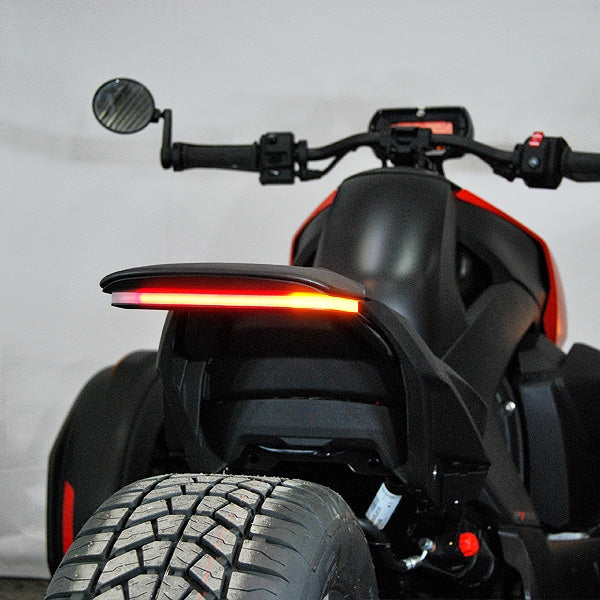
12) Mount new tail light in that same location with the stock hardware removed in the last step (Photo 14)
13) Route wires underneath the seat and plug into harness you pulled in from the swing arm
14) Remove 2 bolts on hugger (Photo 15)
15) Mount side mount bracket onto caliper bracket with stock bolts and supplied spacers (Photo 16)
Shop The Part

New Rage Cycles
Can-Am Ryker Tail Light (2019 - Present)
Take your Can-Am Ryker to the next level with our DIY tail light. NRC kit comes with a complete LED tail light with the option to add our side mount license plate to it. This very popular Can-Am model required a design with a creative twist to it. Why not add to the styling with our unique and creative design?
Comes with all necessary hardware to install, and OEM connectors to make for a simple bolt-on / plug-in fender eliminator.
(2019 - Present)