

Kawasaki ZX-6R Fender Eliminator Kit (2019-Present) Instructions
Kawasaki ZX-6R Fender Eliminator Kit (2019-Present) Installation Instructions
1) Remove seat from bike.
2) Remove (2) 10mm bolts and move set valve solenoid to the side. (Picture 1)
3) Unplug OEM connectors for turn signals and plate light.
4) Remove (4) allen bolts with a 5mm allen key or socket, and (2) philips head screws. You will not be reusing the philips head screws. Slide stock tail section off the bike. (Picture 2)
5) If installing the standard license plate, remove top plate from fender eliminator and mount license plate to lens bracket using M6 hardware. Screw the top bracket back on. (Pictures 3 and 4)
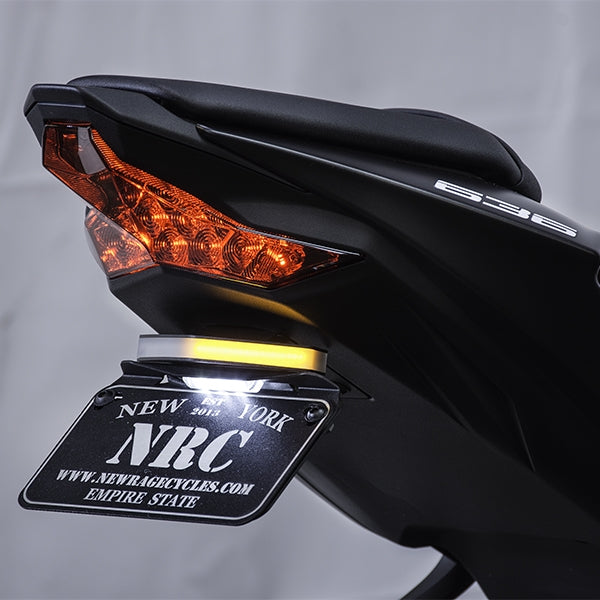
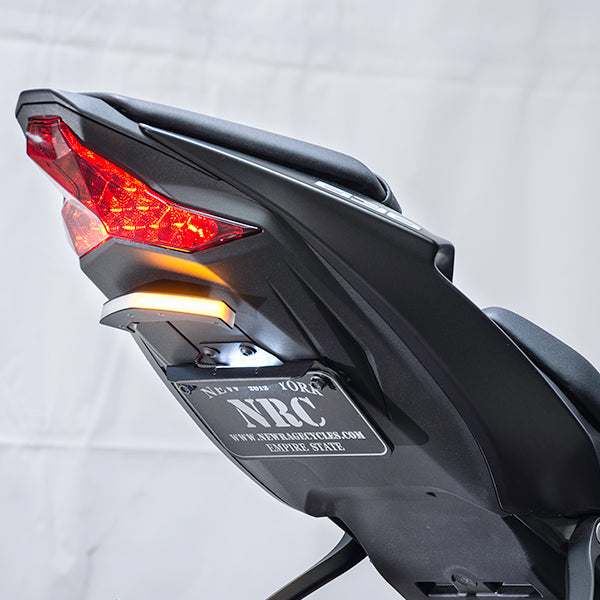
6) If installing the tucked license plate, mount to lens bracket using supplied M6 hardware. (Pictures 5 and 6)
7) Using supplied bolts, spacers, and push nuts, prep fender eliminator for installation. Picture shown is the standard plate. Photo 5 and 6 already has you ready to install with the tucked plate. (Picture 7)
8) Route wires through stock hole, line up bolts to 4 holes, and use supplied M6 nuts to thread on. (Picture 8)
9) Plug connectors in and test everything.
10) Reinstall set valve solenoid.
Shop The Part

New Rage Cycles
Kawasaki ZX-6R Fender Eliminator Kit (2019-Present)
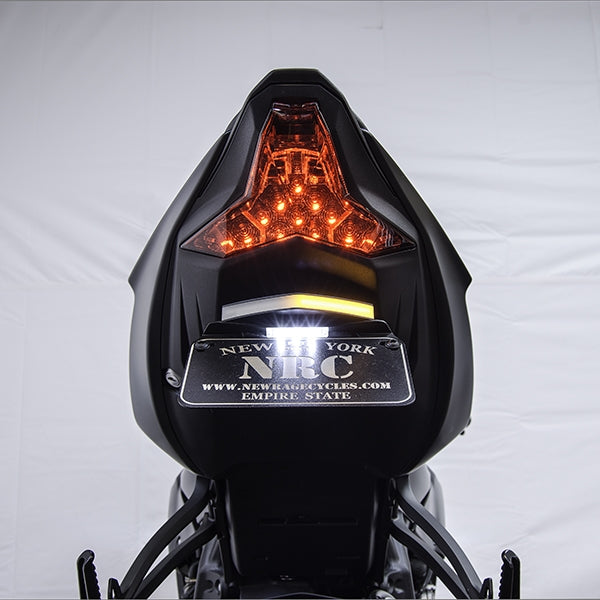
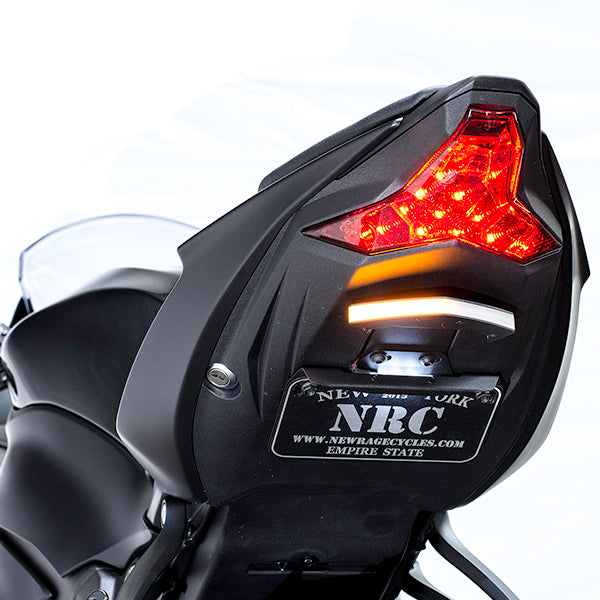
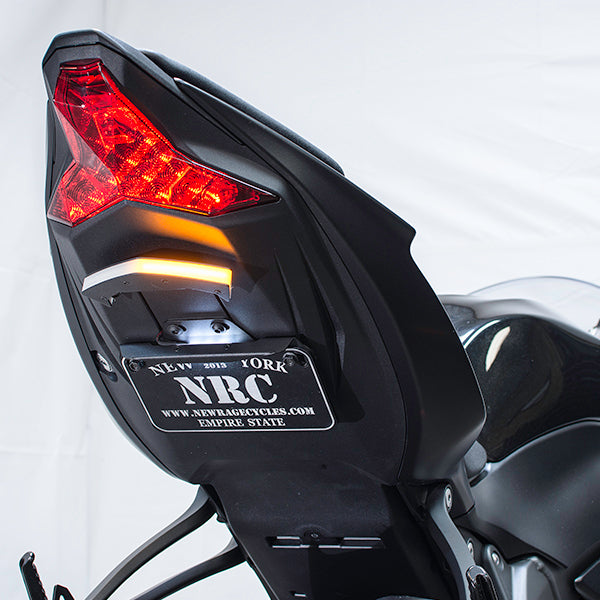
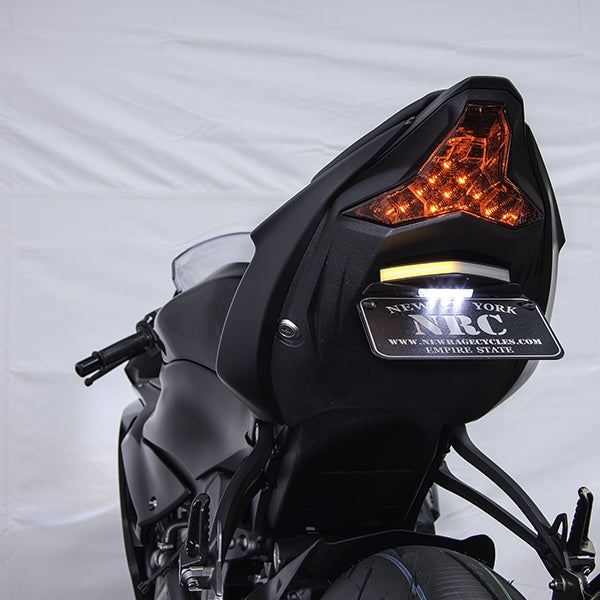
Fender Eliminator Kit for the 2019 Kawasaki ZX-6R.
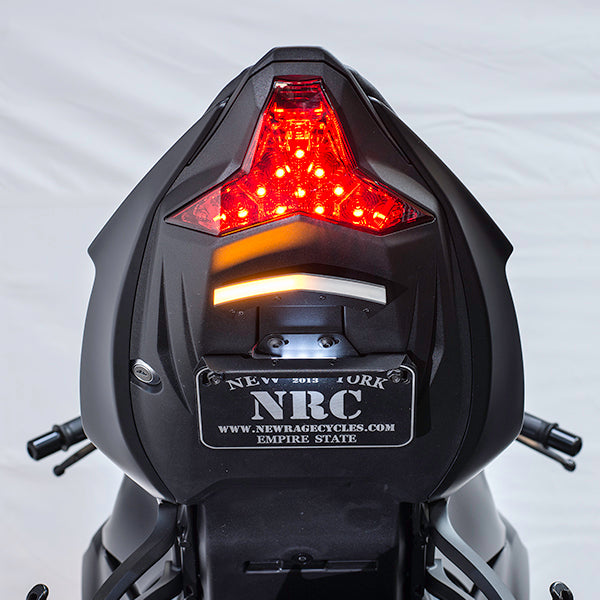
- Flush mounted turn signals
- Standard or Tucked license plate option
- Plug & Play
- Plate Light Included
(2019 - Present)