

Triumph Bobber Side Mount License Plate (2 Position) Instructions
Triumph Bobber Side Mount License Plate (2 Position) Installation Instructions
1) Lift the rear wheel with a bike jack or bike stand.
2) Remove axle nut, slide out axle, and drop rear tire away from the fender. (Picture 1)
3) Remove (3) tail light bolts. (Picture 2)
4) Unplug stock connectors and remove from underneath the fender. (Pictures 3-4)
5) Remove side cover. (Picture 5)
6) Remove air box by taking out (2) torx bolts and (1) hex bolt. You will need a T27 torx and 12mm wrench. (Pictures 6-7)
7) Remove battery box cover. (Picture 8)
8) Remove the ground and positive cables and slide out the battery. (Picture 9)
9) Unplug the exposed tail light / turn signal connector. (Picture 10)
10) Plug in new tail light harness followed by new plate light harness. Run harness down fender and zip tie to tabs underneath the fender. Plug in new plate light harness to the turn signal harness; white and black goes to white and black. (Pictures 11-14)
11) Place wire cover on and route wire through the gap at the bottom. (Picture 15)
12) Mount new license plate bracket over wire cover using (3) provided M6x12 bolts a (1) white spacer. (Pictures 16-17)
13) Remove seat bolts using a T50 torx. (Picture 18)
14) Remove (4) bolts underneath stock seat and the (2) bolts holding the Triumph emblem on. You will be reusing these. (Pictures 19-20)
15) Mount new tail light and wire guide brackets to your seat using the (2) remaining provided washers and stock bolts. (Picture 21)
16) Take your Triumph emblem and mount back onto the back of the seat using the stock hardware.
17) Route the harness along wire guide brackets and zip tie appropriately along the seat bracket. (Pictures 22-23)
18) Mount the seat back on the bike and route the harness down the frame. Use the long zip tie provided to tidy up harness at the front of the seat bracket.
● Brown and black wires to brown and black on new tail light harness
● Red and black wires to red and black on the new tail light harness
● Green and black wires to green and black on the new tail light harness
If installing the side mount license plate
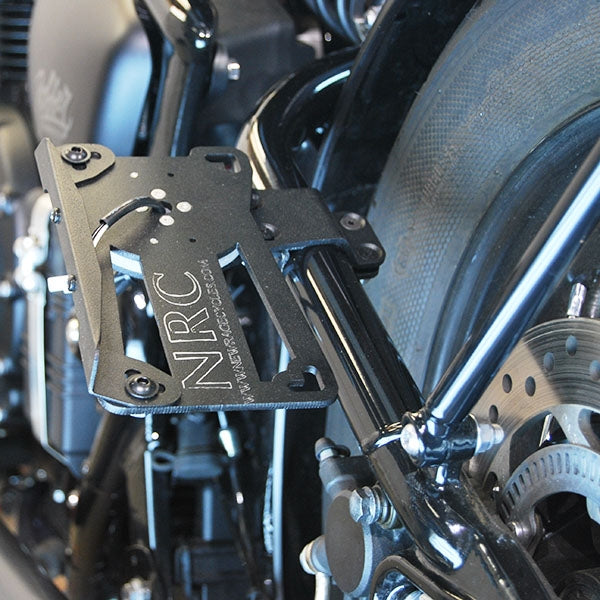
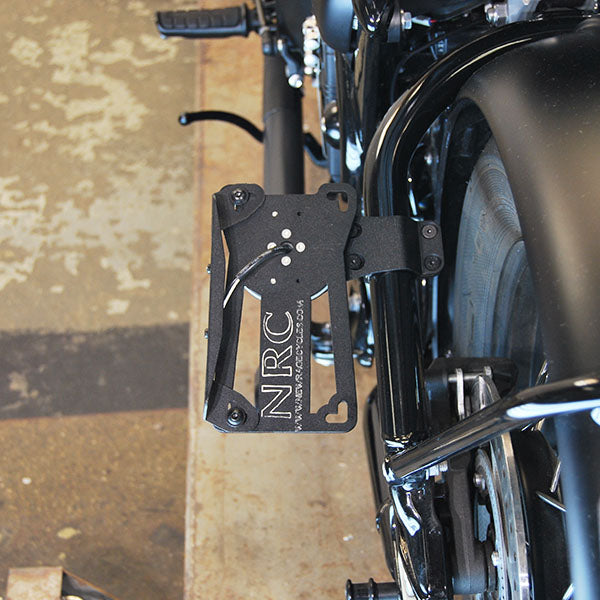
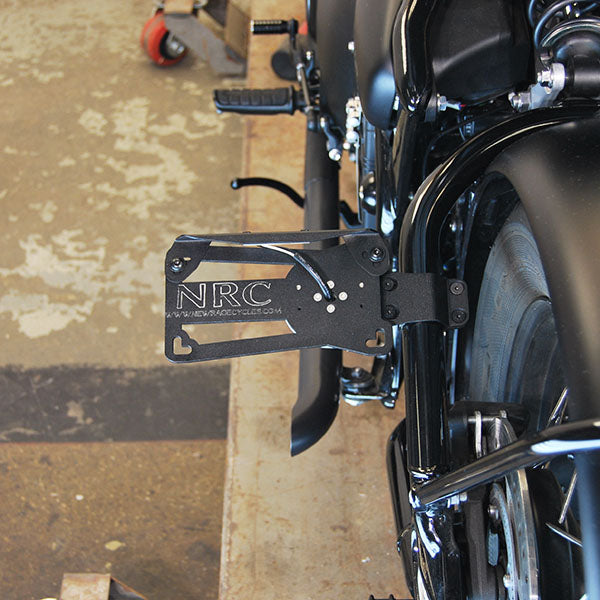
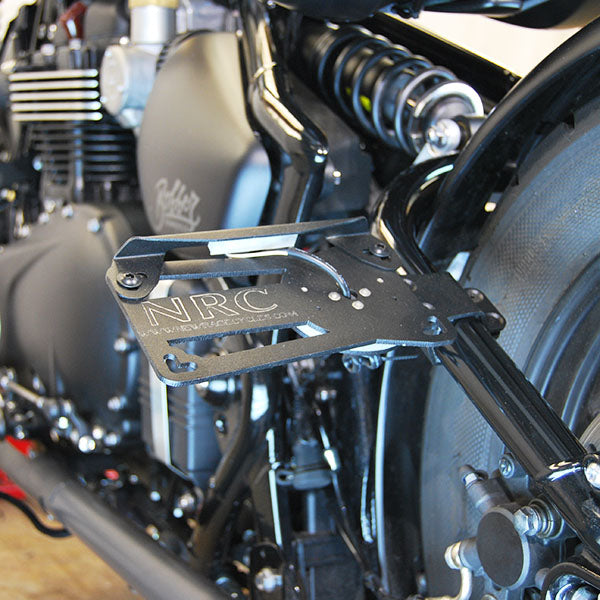
1) Remove (4) flat head bolts and (4) nuts to open up clamp on the side mount. (Picture 24)
2) Lift the rear wheel with a bike jack or bike stand.
3) Remove axle nut, slide out axle, and drop rear tire away from the fender. (Picture 1)
4) Remove (3) tail light bolts. (Picture 2)
5) Unplug stock connectors and remove from underneath the fender. (Pictures 3-4)
6) You will have to untape the harness, route the plate light harness up the fender, plug in the new extension and route around the swing arm so you can plug in the plate light connector. You may have enough slack to run the stock plate light harness from the fender to the swing arm but the new extension connector is there in case you do not. (Picture 12)
7) Using the hardware removed from the clamp in step one of this, re-use to clamp onto the swing arm and tighten.
8) Plug in plate light connector to routed wire.
Shop The Part
New Rage Cycles
Triumph Bobber Side Mount License Plate (2 Position) (2017 - Present)
Custom designed 2 position side mount license plate for the Triumph Bobber. This kit eliminates the stock license plate fender, yet using the same mounting location allows you to ride with your license plate mounted horizontally OR vertically!
Kit comes with a license plate light.
**Check local and state laws before riding with it mounted in a vertical position**
(2017 - Present)